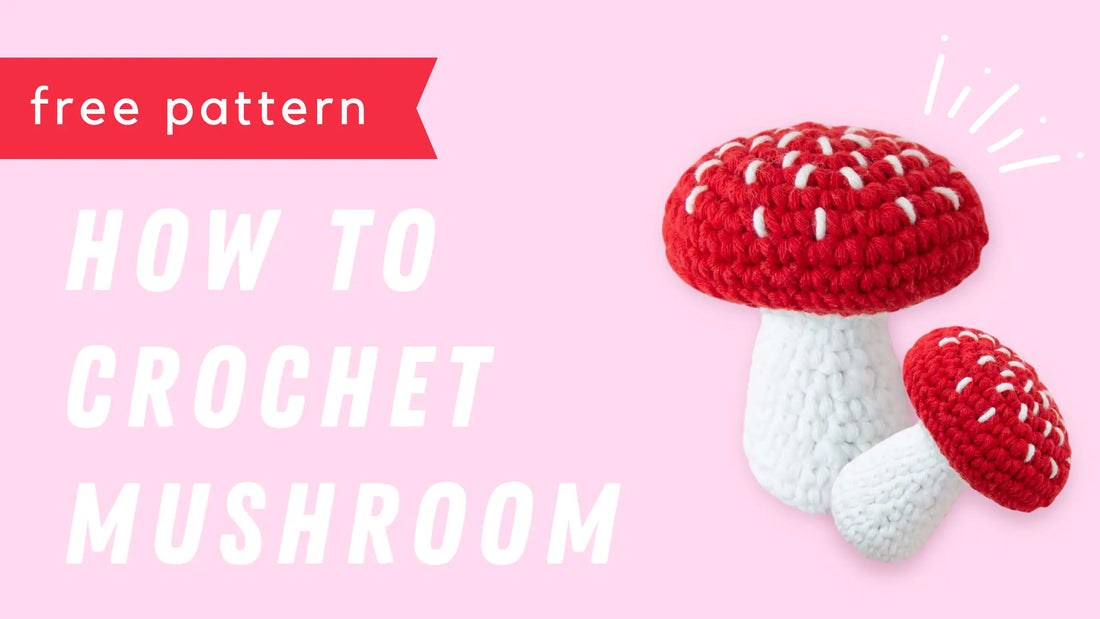
AMIGURUMI MUSHROOM | Free crochet pattern
Share
In this blog post, you'll find the free crochet pattern and step-by-step instructions for this cute amigurumi mushroom. You'll also find a video tutorial if you prefer to follow a video where I walk you through the making instead of a written pattern.

AMIGURUMI MUSHROOM - Free crochet pattern
ABBREVIATIONS [US Terms]
Click on the (underlined) stitch to go to the video tutorial.
r - row
st - stitch
ch - chain
sl st - slip stitch
sc - single crochet
inc - increase
dec - decrease
[…]x… - repeat instructions in the brackets ... times,
(…) - the number of stitches at the end of the round
Are you a beginner amigurumi crocheter? No worries! I have some great resources for you. I've made beginner-friendly video tutorials on the basic amigurumi crochet stitches that you'll find on my Youtube channel. Click on the name of the stitch (here above) to go to the video! There's also a video where I crochet this exact amigurumi mushroom that you can watch here.
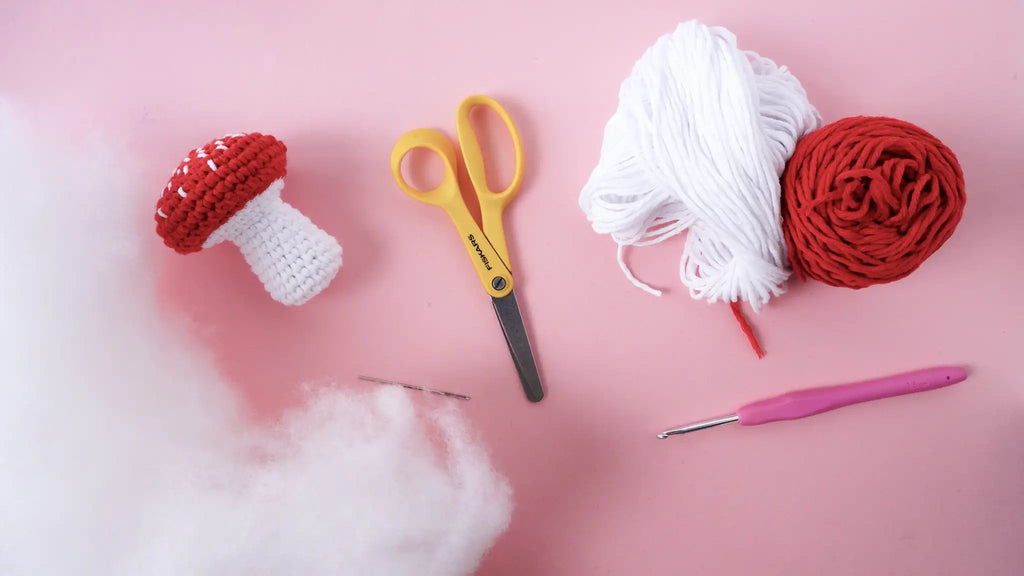
MATERIALS
- 2 colors of cotton yarn (50g = 105m), 3.50 mm crochet hook, stuffing, scissors, tapestry needle, stuffing

INSTRUCTIONS
- The mushroom parts are crocheted in a spiral.
- Watch the video tutorial here.
HAT
- The hat is crocheted in spiral with red (A) yarn.
r 1: 2 ch, 6 sc in the second ch from the hook. (6) = magic circle
r 2: [inc]x6. (12)
r 3: [1 sc, inc]x6. (18)
r 4: [2 sc, inc]x6. (24)
r 5: [3 sc, inc]x6. (30)
r 6: [4 sc, inc]x6. (36)
r 7-8: 36 sc. (36)
- Cut off the yarn and weave in the ends.
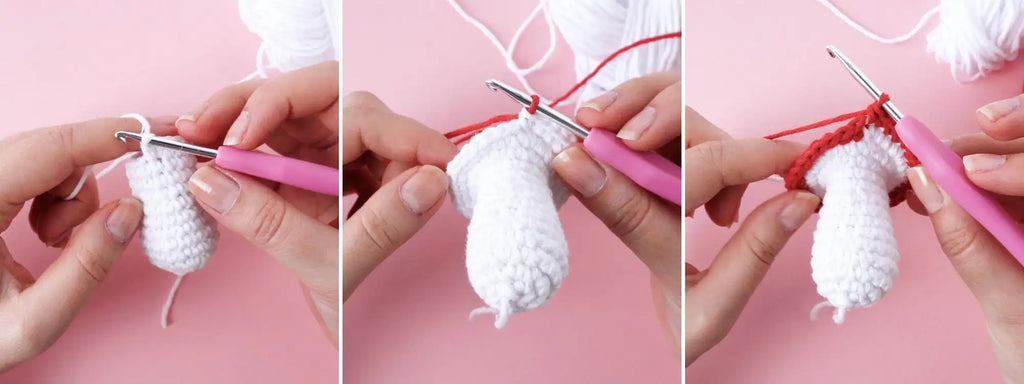
FOOT
- The foot is crocheted in spiral with red (A) and white (B) yarn.
- Start to crochet with white (B) yarn.
r 1: 2 ch, 6 sc in the second ch from the hook. (6) = magic circle
r 2: [inc]x6. (12)
r 3: [1 sc, inc]x6. (18)
r 4-5 (2 r): 18 sc. (18)
r 6: [7 sc, dec]x2. (16)
r 7-8 (2 r): 16 sc. (16)
r 9: [6 sc, dec]x2. (14)
r 10-11 (2 r): 14 sc. (14)
r 12: [6 sc, inc]x2. (16)
r 13: [1 sc, inc]x8. (24)
r 14: [2 sc, inc]x8. (32)
- cc to red (A) yarn.
r 15: [7 sc, inc]x4. (36)
- Cut off the yarn but save approximately 30 cm so that you have something to sew the hat and the foot together with.
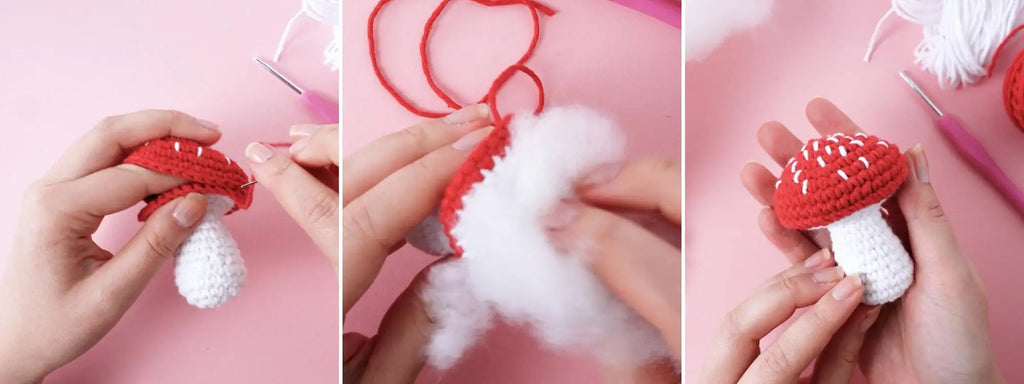
- Attach the hat to the foot. The sewing should go pretty smoothly because the last round of the hat and the foot has the same amount of stitches.
- Stuff the hat before you close the gap.
I hope you enjoyed making this amigurumi together with me. I think it’s such a fun make and a cute fall amigurumi to have.
If you enjoyed making this amigurumi you might also enjoy my other designs. You’ll find my amigurumi pattern library here.
Happy crocheting!


2 comments
Happy you enjoyed the pattern Vanessa! 😀❤️
LOVE IT!! I did it with fluffy yarn and it turned out soooooo cute🤩🤩