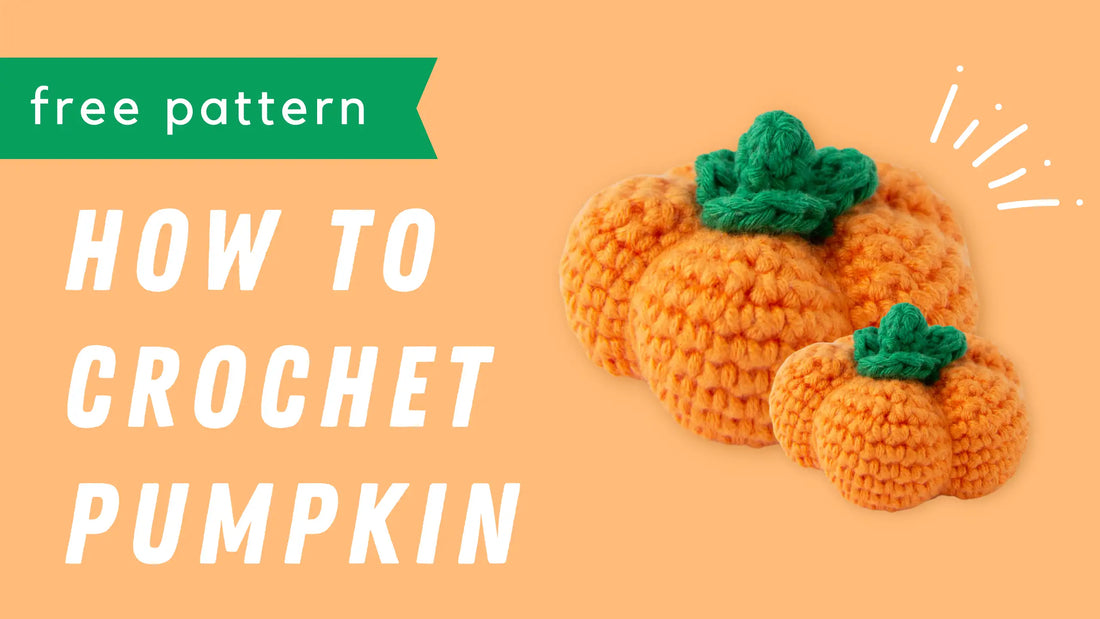
In this blog post, you will find the free crochet pattern and step-by-step instructions (+pictures) for this cute amigurumi pumpkin. You'll also find a video tutorial if you prefer to follow a video where I walk you through the process instead of a written pattern.

AMIGURUMI PUMPKIN - Free crochet pattern
ABBREVIATIONS [US Terms]
Click on the (underlined) stitch to go to the video tutorial.
r - row
st - stitch
ch - chain
sl st - slip stitch
sc - single crochet
hdc - half double crochet
inc - increase
dec - decrease
[…]x… - repeat instructions in the brackets ... times,
(…) - the number of stitches at the end of the round
Are you a beginner amigurumi crocheter? No worries! I have some great resources for you. I have made beginner-friendly video tutorials for the basic crochet stitches that you'll need to know to make this amigurumi pumpkin. You'll find all the videos on my Youtube channel - Garnknuten.
Click on the name of the stitch (here above) to go to the video! There's also a video where I crochet this exact amigurumi pumpkin that you can watch here.

MATERIALS
- 2 colors of cotton yarn (50g = 105m), 3.50 mm crochet hook, stuffing, scissors, tapestry needle, stuffing, pins
B = Green

INSTRUCTIONS
- The pumpkin parts are crocheted in a spiral.
- Watch the video tutorial here.
PUMPKIN
- The pumpkin is crocheted in a spiral with orange (A) yarn.
r 1: 2 ch, 6 sc in the second chain from the hook. (6) = magic circle
r 2: [inc]x6. (12)
r 3: [1 sc, inc]x6. (18)
r 4: [2 sc, inc]x6. (24)
r 5: [3 sc, inc]x6. (30)
r 6: [4 sc, inc]x6. (36)
r 7: [5 sc, inc]x6. (42)
r 8-12: 42 sc. (42)
r 13: [5 sc, dec]x6. (36)
r 14: [4 sc, dec]x6. (30)
r 15: [3 sc, dec]x6. (24)
r 16: [2 sc, dec]x6. (18)
r 17: [1 sc, dec]x6. (12)

- Stuff the pumpkin but keep it soft. If you stuff your pumpkin too firmly you'll have a hard time shaping it later.
r 18: [dec]x6. (6)
- Cut off the yarn and weave in the yarn ends.
- Shape the pumpkin by sewing big stitches through the middle of the pumpkin and around it 5 times. Watch the video tutorial here.

LEAF
- The leaf is crocheted in a spiral with green (B) yarn.
r 1: 2 ch, 6 sc in the second chain from the hook. (6) = magic circle
r 2-3: 6 sc. (6)
r 4: [inc]x6. (12)
r 5 (crochet in front loops only): [skip one st, 5 hdc in the next st, skip one st, sl st]x3.
- Cut off the yarn and save approximately 30 cm so that you have something to attach the leaf to the pumpkin with.
- Weave in the other yarn end.

- Attach the leaf to the top of the pumpkin with a couple of stitches. Use the back loops on row 5 on the leaf when you sew.
- The leaf does not need any stuffing becouse it's so small.

I hope you enjoyed making this amigurumi together with me. I think it’s such a fun make and a cute fall amigurumi to have.
If you enjoyed making this amigurumi you might also enjoy my other designs. You’ll find my amigurumi pattern library here.
Happy crocheting!


