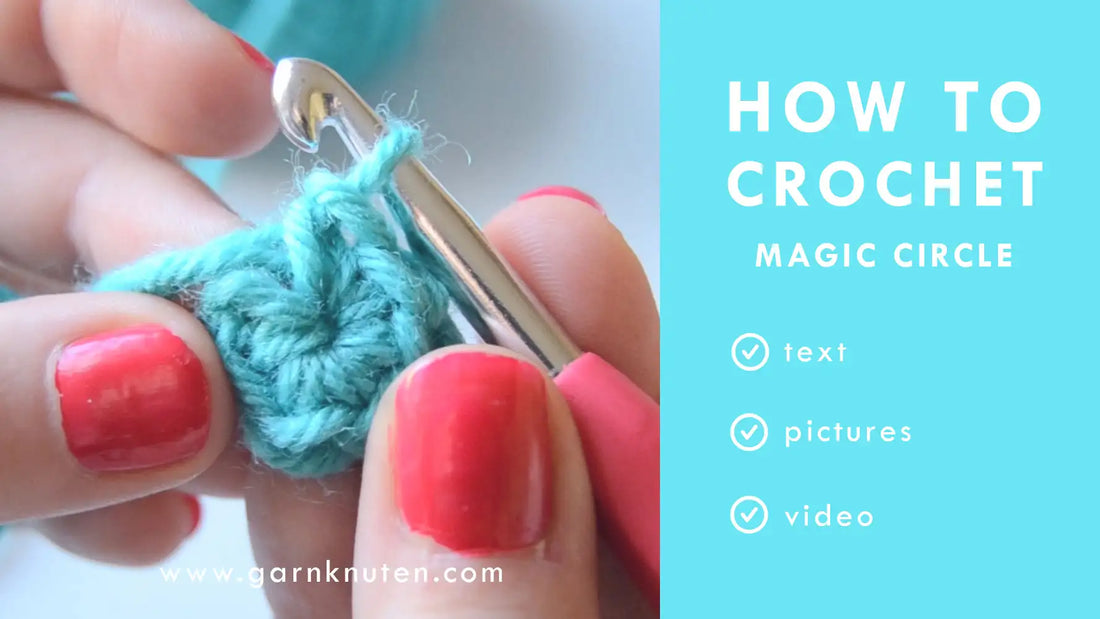
CROCHET 101: How to crochet a magic ring [or magic circle]
Share
In this blog post you'll learn how to crochet a magic circle or magic ring. This is a popular way of starting a project that you're crocheting in the round like amigurumi for example. There is a lot of different ways of doing this technique but this is my favorite. Down below you'll find a step-by-step tutorial with helpful pictures and a video tutorial if that's your cup of tea!

Click here to watch the video tutorial on how to crochet a magic ring (circle).
HOW TO CROCHET A MAGIC RING (OR MAGIC CIRCLE)

Picture 1-2. Put the yarn over the hook and cross the yarn end with the working yarn.
Picture 3. Put the working yarn over the hook, from behind.

Picture 4-6. Pull the working yarn through the loop on your hook. This is your first chain stitch.

Picture 7. Crochet one more chain stitch.
Picture 8. Crochet 6 single crochet stitches (or as many as the pattern says) in the second chain from the hook (=the first that you made).
Picture 9. Pull gently the tail of the yarn to close the gap. Done!


